
Finishing a villa — in Arabic, تشطيب فلل — involves many trades working in the same spaces. The order in which they work matters as much as the quality of each trade. When the sequence is wrong, freshly painted walls get drilled, new floors get scratched and ceilings get opened again. This guide sets out the usual order of works and why each step comes where it does. The exact sequence varies with the design and the contractor's method, so treat it as a framework to discuss with your team.
1. Blockwork and openings
Structure and partitions come first: block walls, openings for doors and windows, and any built-in niches. Accurate alignment here saves time in every later trade, because plaster, frames and finishes all follow these lines.
2. MEP first fix
Before walls are closed, the hidden services go in: electrical conduits and back boxes, plumbing pipes, drainage, and air-conditioning pipework and ducts. Doing this first avoids cutting into finished surfaces later. Pressure tests and inspections happen at this stage, while everything is still accessible.
3. Plastering and wall base
Walls receive their base coat to create a smooth, even surface for paint and other finishes. Good plastering reduces the amount of putty and sanding needed later.
4. Waterproofing in wet areas
Bathrooms, kitchens, balconies and roof areas need waterproofing before the screed or tiles go on. Skipping or rushing this step causes leaks that are expensive to fix once floors are finished.
5. Screed
The screed brings floors to the correct level and provides a stable base for tiles, stone, vinyl or other coverings. It needs time to cure and dry, so it is placed early enough to keep the programme on track.
6. Gypsum partitions and ceilings
Gypsum framing goes up, services inside the ceilings and partitions are checked, and only then are the boards closed. Inspecting before closing is critical — once boards are on, problems are hidden until they show up as defects. Bulkheads, coves and lighting recesses are formed at this stage.
7. Putty, primer and first paint coats
Joints and surfaces are finished with putty, sanded, and primed. Applying the first coats before floors and fittings arrive protects the finished items from paint splashes and sanding dust.
8. Floor and wall finishes, and joinery
Tiles, stone, timber or vinyl flooring, wall cladding, doors and built-in joinery follow. The order between flooring and joinery depends on the design, so agree it in the programme.
9. MEP second fix
Light fittings, switches and sockets, sanitary ware, taps, air-conditioning grilles and other final fixtures are installed. This is done late so that fixtures are not damaged during earlier work.
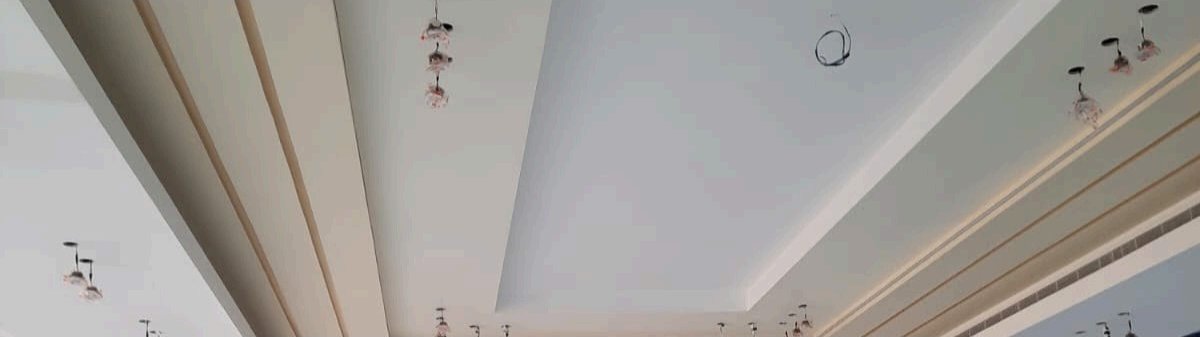
10. Final paint, cleaning, snagging and handover
Final paint coats and touch-ups are applied, the villa is professionally cleaned, and the owner walks through with the contractor to record any defects in a snag list. Items are corrected and the property is handed over with its documentation.
Why the order matters
Every trade that works after another can damage its work. A correct sequence puts messy and heavy work first and delicate finishes last. It also keeps inspections practical — services are checked while accessible, and finishes are applied only once the base is ready.
Keeping the schedule on track
- Agree a written programme with milestones before starting
- Confirm which trades are handled in-house and which are subcontracted
- Inspect at each stage — framing, closing, finishing — not only at the end
- Order long-lead materials early
- Keep one point of contact for decisions and changes
Who coordinates the sequence?
The order above only works if someone owns it. Where one contractor manages all the trades, the programme can be planned as a whole and each trade knows when it starts and what it must protect. Where the owner hires each trade separately, clashes are more likely, because nobody is responsible for the gaps between them. Whichever route you choose, agree who is responsible for the programme and for inspections.
Inspections and approvals at each stage
- After blockwork: alignment, openings and levels checked against drawings
- After MEP first fix: pipes pressure-tested, conduits and back boxes positioned, ductwork checked before walls and ceilings are closed
- After waterproofing: flood or water test where appropriate before screed and tiles
- After screed: level checked, and moisture tested before sensitive floor finishes
- Before closing gypsum: framing and services above ceilings signed off
- Before final paint: surfaces checked in good light and defects marked
- At handover: systems tested and a snag list walked through with the contractor
Written sign-offs at each stage protect both the owner and the contractor.
Common sequencing mistakes
- Painting before the second-fix electrical work, so walls are cut or marked afterwards
- Laying floors before ceilings and painting are finished, leading to scratches and stains
- Screeding before the waterproofing has been tested
- Closing gypsum ceilings before services have been inspected, then opening them again
- Ordering tiles, joinery or fixtures late so the trades wait
- Changing the design after walls and ceilings are closed
Most of these are avoided with a written programme, frozen design decisions before closing and early ordering of long-lead items.
Planning tips that save time
Decide the lighting layout, air-conditioning positions, sockets and built-in furniture before the first-fix stage, because these are hardest to change later. Order tiles, sanitary ware, doors and lighting early enough to arrive when they are needed. If you are unsure of a colour, tile layout or ceiling detail, ask for a sample or mock-up area before committing the whole villa.
What to check on the snag list
- Paint finish, colour consistency and touch-up areas
- Tile alignment, grout lines and edges
- Gypsum joints, cracks and corners
- Door and window alignment and operation
- Every socket, switch and light working
- Taps, drains and sanitary ware: leaks and flow
- Air-conditioning performance and noise
- Cleanliness and removal of site materials
Record every item in writing, agree a date for correction, and check again before final payment.
YYM Prestige delivers gypsum, ceilings, painting, screed, block work, decorative works and internal MEP services across Saudi Arabia, coordinated under one team. Contact us for a free quotation on your villa project.